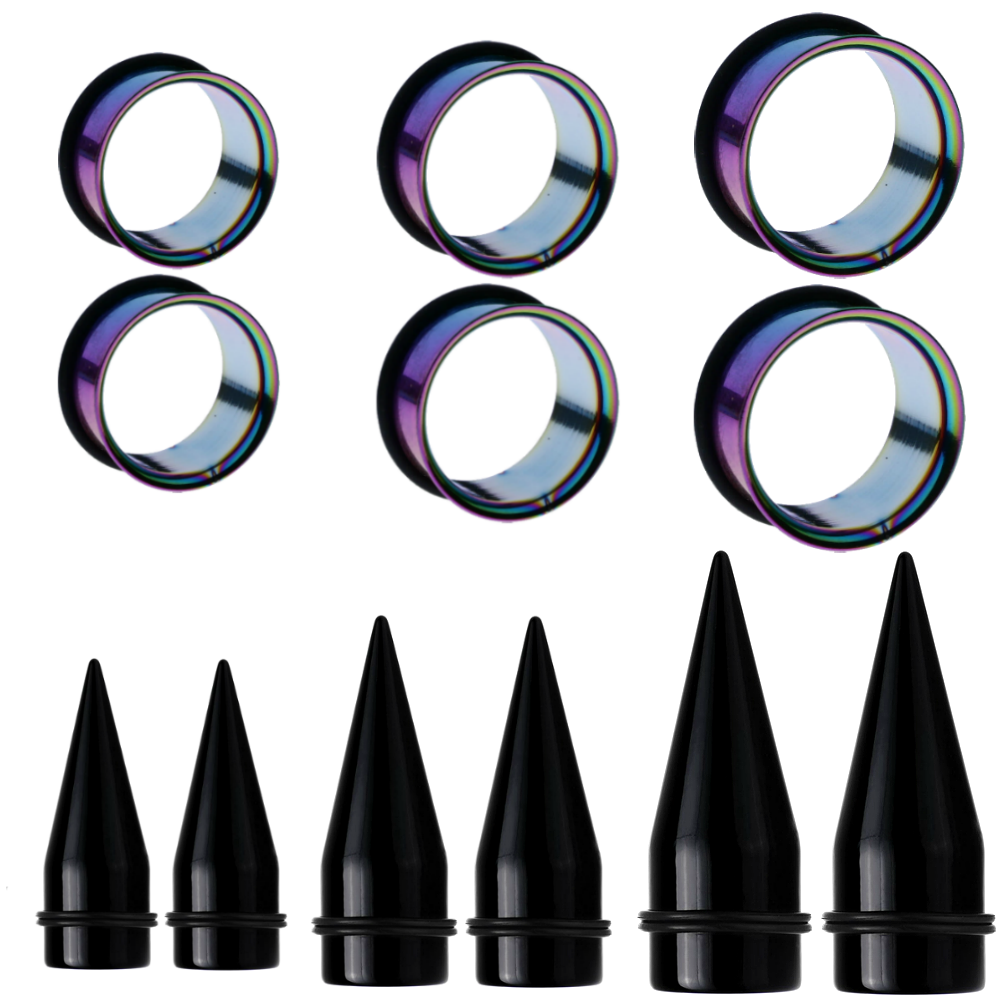
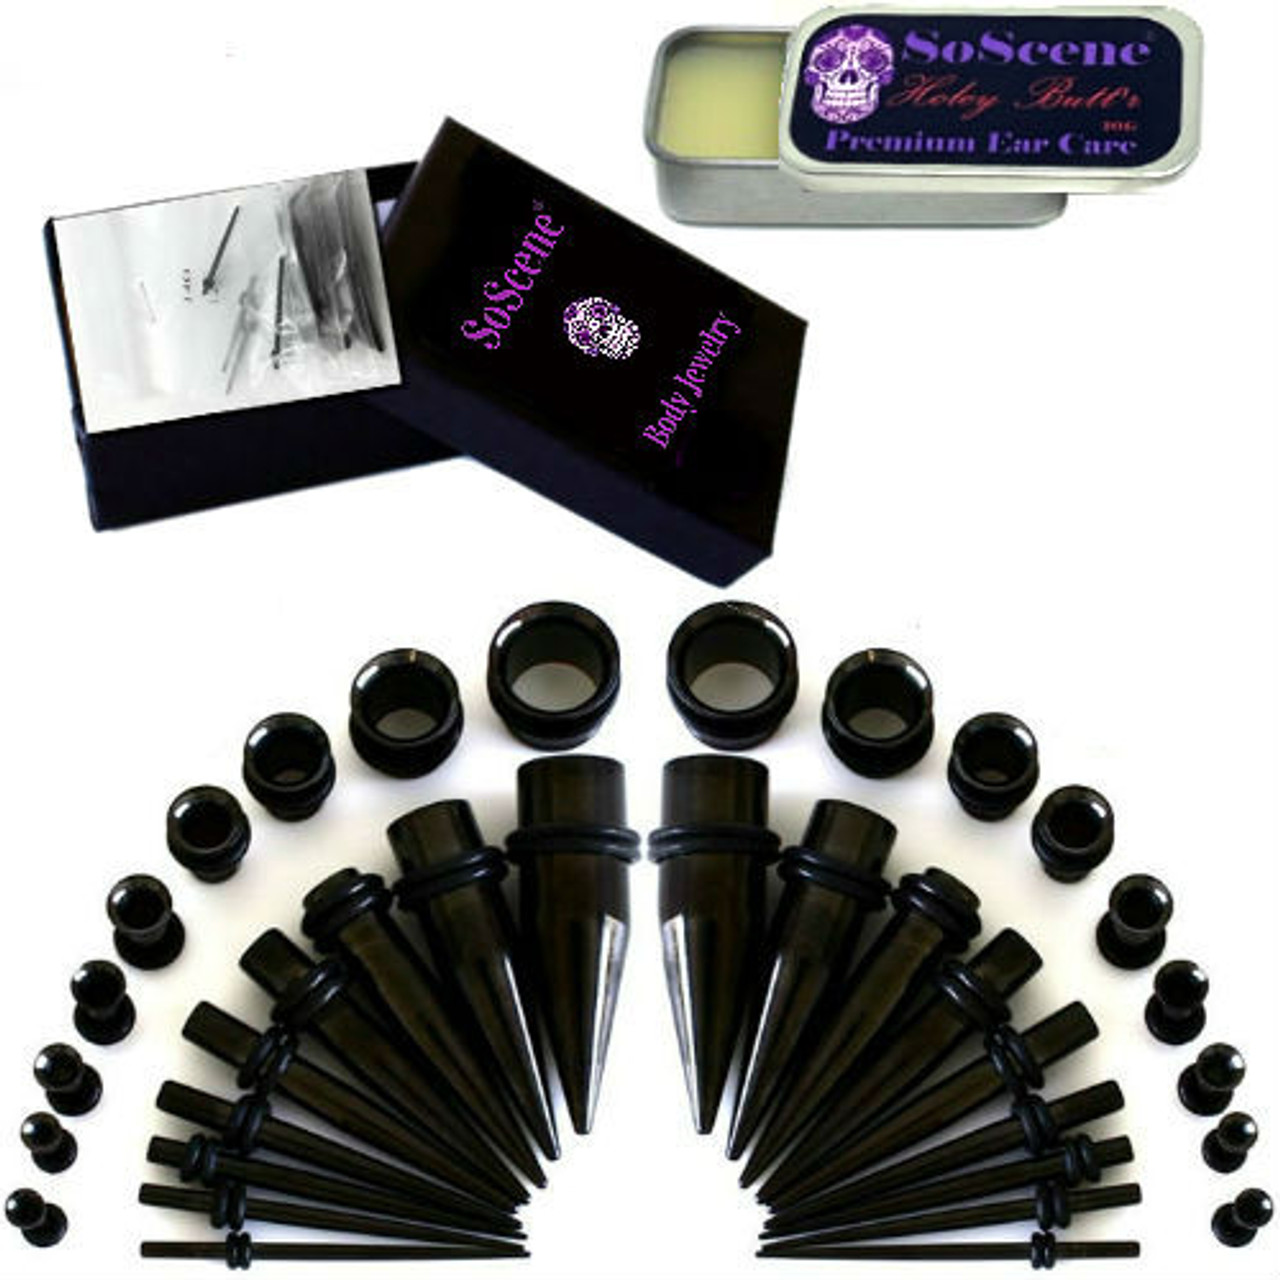
SHOP FOR EAR STRETCHING KITS HERE
PLEASE SHARE AND LIKE


Ear stretching can be a great looking, versatile and ultimately rewarding body modification. However, it is a process that calls for a little know-how, more than a little patience and most of all respect and understanding of your own body. The most important 'rule' to remember when stretching is to be safe!
Step 1:
Getting Started:
To begin ear stretching (or ear gauging as some people refer to it) you will need to have your ears pierced in the traditional manner which you can have done at almost any vendor that also sells earrings. Ear jewelry sizes are generally measured in 'gauges', which typically run from around 20g to 00g. Any size larger than 00g would be referred to in millimeters or inches.
If your ears were originally pierced with a gun, which is the common practice at mall booths, fashion stores or most general jewelers, then they were most likely pierced at between 18g and 16g. A 14g taper would be a good place to start stretching.
Check with a parlor/piercing artist first to be absolutely sure. No matter what the case is, beginning the ear stretching process by going up a single size is the best and safest way to proceed.
Before you begin ear stretching your original piercing should be completely healed. Make sure that you wait 4-6 months after a 'fresh piercing' before you begin.
Step 2:
What You'll Need:
Once you have determined your starting point then the real fun can begin! There is a huge variety of ear jewelry to choose from in any size as well as several materials. It will help if you understand the different types of jewelry available to choose from as well as how ear gauge sizing works.
Ear Gauge Sizes:
The following chart should help you understand what all of those numbers you will see when shopping for ear stretching mean.
Gauges- Millimeter -Inches

Ear Stretching Jewelry Types:
Tapers:
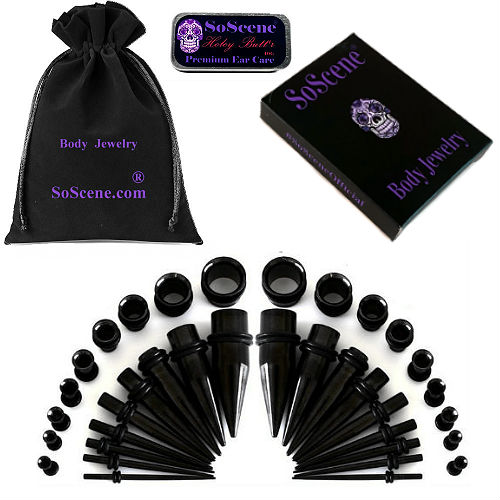
Tapers are primarily tools as opposed to everyday ear jewelry. They are used to perform the actual stretching and should be replaced with jewelry within a few hours. Even though many of the tapers you can buy are very attractive they simply are not designed for long term wear as there is a danger that the weight of a taper can tear your delicate ear tissue. The exception to this would be any tapers composed of lightweight materials such as acrylic.
( Looking to only strerch one size ? )Checkout our single tapers
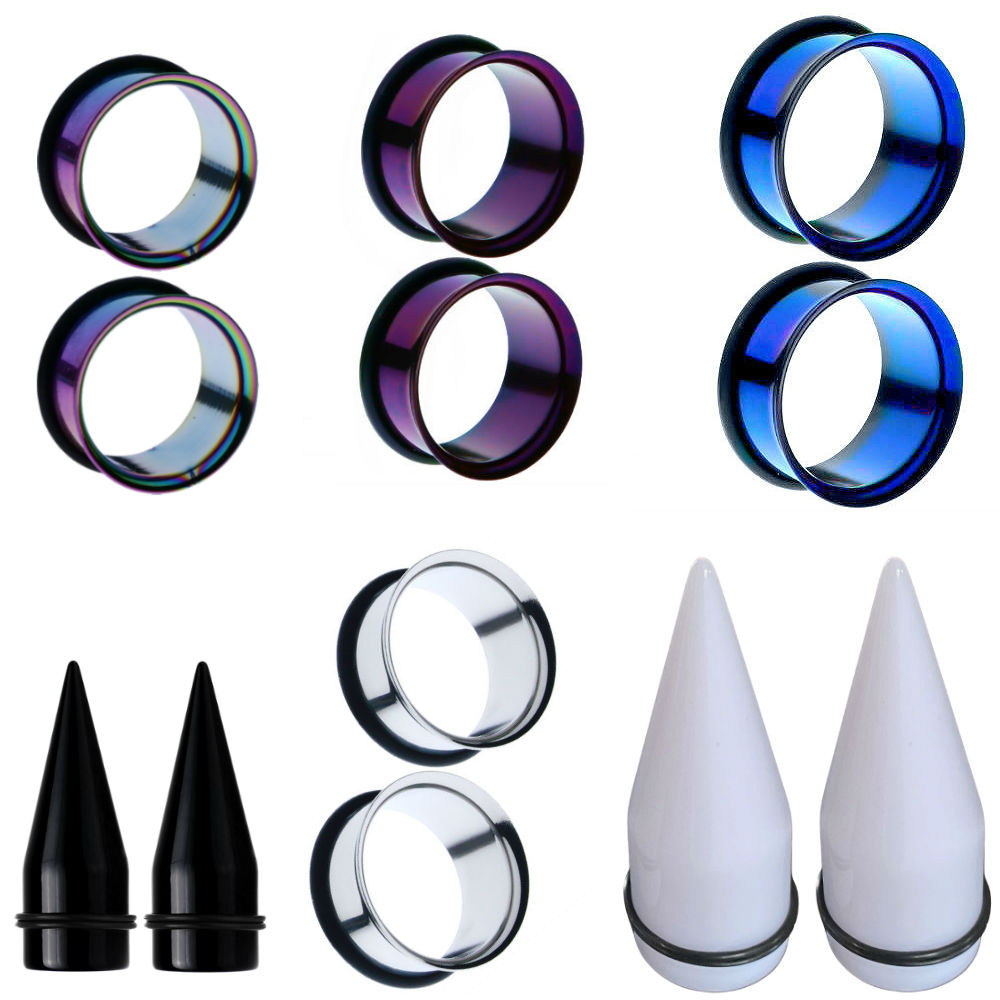
Plugs: Plugs are solid pieces that cannot be seen through and are designed for long term wear.
Tunnels/Eyelets: Open pieces that accent the piercing itself and are also designed for long term wear.
Often you may see or hear the term 'EAR GAUGES'. This is something of a slang term that has become popular over the last few years. People that use it are usually referring to jewelry for stretched ears. Some piercing purists hate the term EAR GAUGES, but it really doesn't matter in the grand scheme of things. Truth be told, there are more people searching the internet for the term"ear gauges" then "ear plugs" when looking to purchase jewelry for stretched ears.
Initially you should purchase both tapers and long term ear stretching jewelry in the gauges you will be stretching to. Make sure you really like what you are buying as ideally they will be worn for at least a month before you gauge up to the next size.
Keep in mind that while gauging up you will need a lubricant of some kind. Jojoba oil is a great choice. Vitamin E oil will also do the trick (you can break open a standard Vitamin E capsule and use the oil if you can't find the real thing.) In a pinch you can use Vaseline or a generic petroleum jelly, but it's really not the best choice.
Step 3:
Get Stretching!
The very best time to stretch your ears is when you have just stepped out of a hot shower. It is at this point that your earlobe skin is at its softest and most pliable. You will also be beginning with nice, clean hands, something that is also very important.
Begin by massaging a small amount of lubricant onto your ear and then slowly insert the taper, small end first, into your ear piercing. At this point pay attention to how you feel as stretching should not be painful! If you feel pain you should stop immediately as pain is sign that your piercing is not ready to be stretched. However, some minor discomfort and light resistance is normal so just be patient.
Next, align your long term jewelry with the larger end of the taper as if it were an extension of it. Push the taper through your ear along with the jewelry and then move on to your other ear.
As you move on to larger sizes you can try a different method, one that is known as taping. This involves adding small layers of tape such as PTFE, Teflon or bondage tape around a piece of ear jewelry and reinserting it into your ear. By gradually increasing the number of tape layers over the course of the next few days the gauge of the plug can be increased. This can be a very comfortable way to gauge up to larger sizes (over 0g.)
Step 4:
Aftercare:
Thankfully, there is not a lot involved in the aftercare of a fresh ear stretch. If you have stretched your ear properly there should be no tears or damage to your ear and therefore no need to treat them as if they were fresh piercings. The most important thing however is that you not do anything that will slow down the basic healing process. Do not use rubbing alcohol or hydrogen peroxide near your freshly stretched ears. You can occasionally gently massage a very small amount oil or Holey Butt'r or Gauge Gear around the area to help stimulate blood flow to the area and speed healing, but not until two or three days after the stretch.
There should never be any bleeding or significant pain. A little tingling or a small amount of soreness is normal, but if anything more significant than that occurs remove the ear jewelry and downsize back to your previous size. Be sure to wait until the ear is completely healed before trying again.
Step 5:
Getting Bigger:
If all seems to be going well with your new ear gauging then after 1-2 weeks you can begin changing your ear jewelry if you like (and why wouldn't you, with so many great options to choose from?) You should never attempt a new stretch again though until your ears are completely healed from the previous one; one to two months is a good rule of thumb. Many people find this waiting period to be annoying as they want to be at 'x' gauge as soon as possible. However, bad ear stretching practices can result in some serious permanent damage. Stretched ears are beautiful, but that look is one that is worth waiting for.
Frequently Asked Questions:
How long should I wait between ear stretches?
Ear stretching is a very personal thing and people heal at different rates. Just how long you should wait between stretches depends upon what size you are gauging up to and how quickly you personally heal between stretches. However, a minimum of a month is recommended for smaller sizes and that time frame should for most people, increase for larger sizes. The most important thing is that you are sure that your latest stretch is fully healed before attempting to increase again. Any bleeding, strong resistance or pain experienced when attempting to stretch your ears usually means that is not the case and you should wait a while longer.
Can I skip a size to speed the process up?
No! Skipping gauge sizes is never a good idea. Doing so increases the chances that you will cause permanent damage to your ears and may even mean that you have to stop the process of ear stretching altogether as a result.
Why shouldn't I wear tapers as every day ear jewelry?
Most tapers are designed to be used as ear stretching tools, not as pieces to be worn on a regular basis. Doing so can easily put uneven pressure on your healing ears, leading to unnecessary damage. Also, have a look at the average taper. Does it look like something you could comfortably - or safely - sleep in?
What is a blowout?
Blowout is a term used to describe what happens when fistula (inside) of a stretched hole is forced out of the back of the piercing as a result of too much pressure. Visually, this looks like a lip of flesh that is unattractive and which, if it is ignored, can result in permanent disfiguration and damage. They most commonly occur when someone tries to gauge up too quickly.
Will my ears ever be able to go back to a 'normal size' after ear stretching?
As everyone's ears and healing speed is very different, there is no way to tell how much a hole would shrink after ear gauging so you should assume that ear stretching is a permanent body modification. If this is not a thought you are OK with then you really should not begin stretching your ears.
With that having been said, any stretch will shrink to a certain degree if plugs or other ear jewelry for stretched ears are left out for a long period of time. Many people will tell you that you can stretch your ears up to a 4g gauge before reaching 'the point of no return' but that is a very broad generalization. As we have mentioned, everyone's body and healing rates are different so that may not be the case for you.
How do you insert and remove double flared plugs?
It should be noted that double flared plugs are not suitable for wear in newly stretched ears and should not be worn until your most recent stretch is fully healed. Forcing double flared plugs into holes that are not ready for such things can cause as much damage as stretching your ears incorrectly in the first place.
When your ears are sufficiently healed, lubricate your ears before attempting to insert a double flared plug. The process is then a little like putting a button through a buttonhole. Insert one edge of the flare of the plug through your ear, then gently pull down on the plug and pop the other edge of the flare through the ear. Do not force the plugs and stop right away if trying to insert them causes pain.
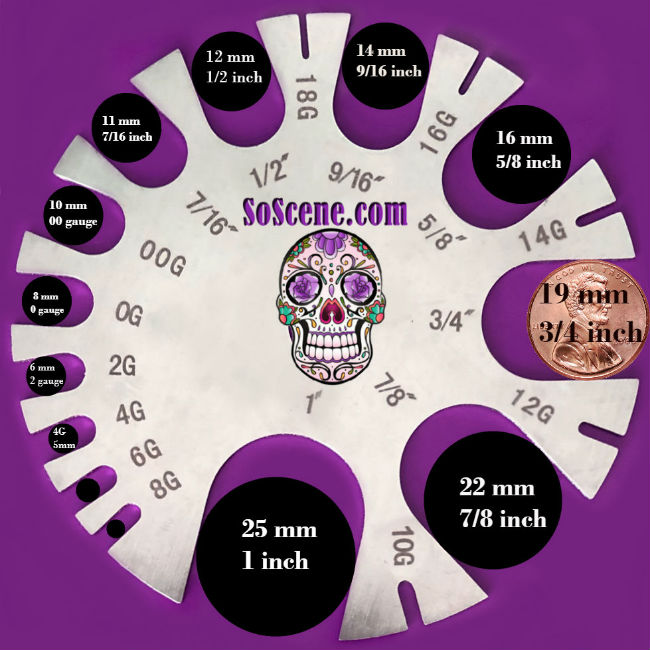
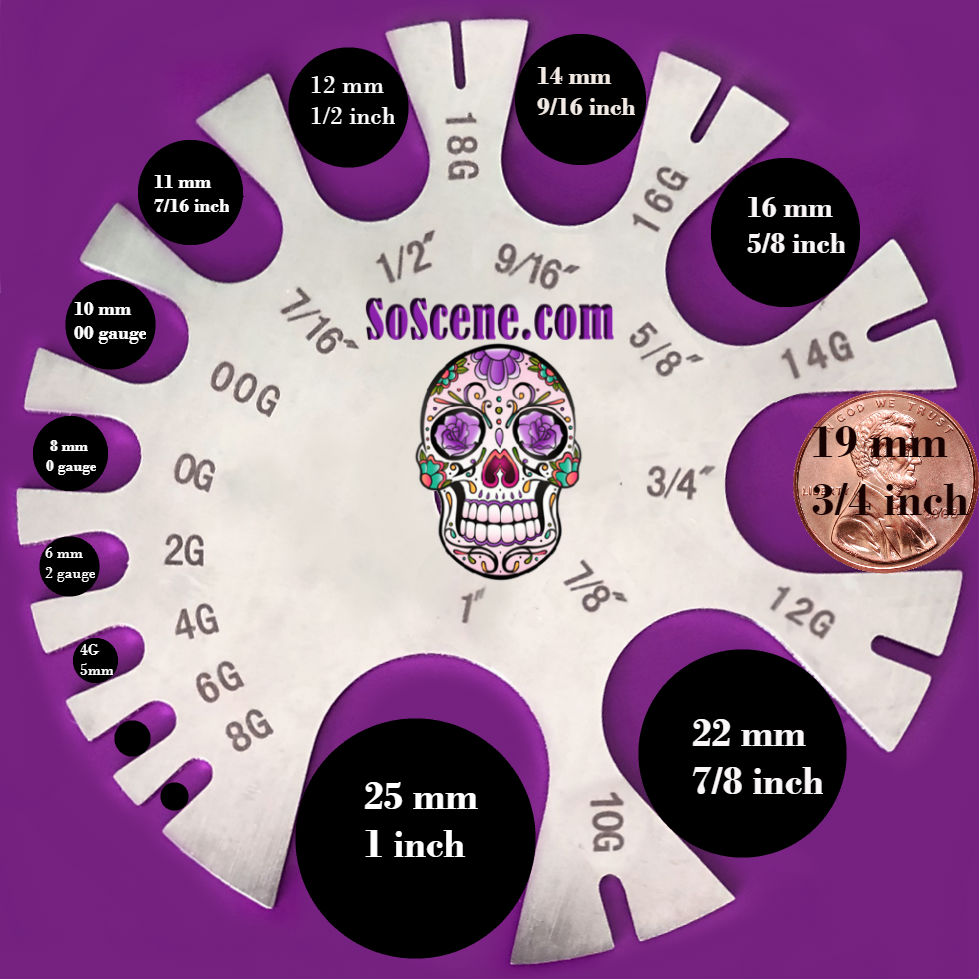
How do I know what size my ear are stretched at right now ?
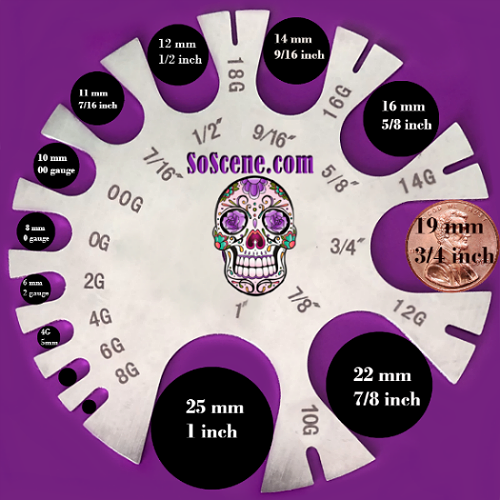
Already have your ears stretched but have no clue as to what size they are ? No Problem .
We have provided 3 different size charts below.
Works best on a desktop
Cell or tablet Try landscape mode ( sideways )
step 1
Find a penny.
step 2
place your penny on the computer screen next to our penny in one of the image .
step 3
Adjust your screen size (zoom) until the penny on your computer screen is the same size as the penny in your hand.
Try each of the 3 images until you find the correct size image that will adjust to the exact size of your penny in hand .
Step 4
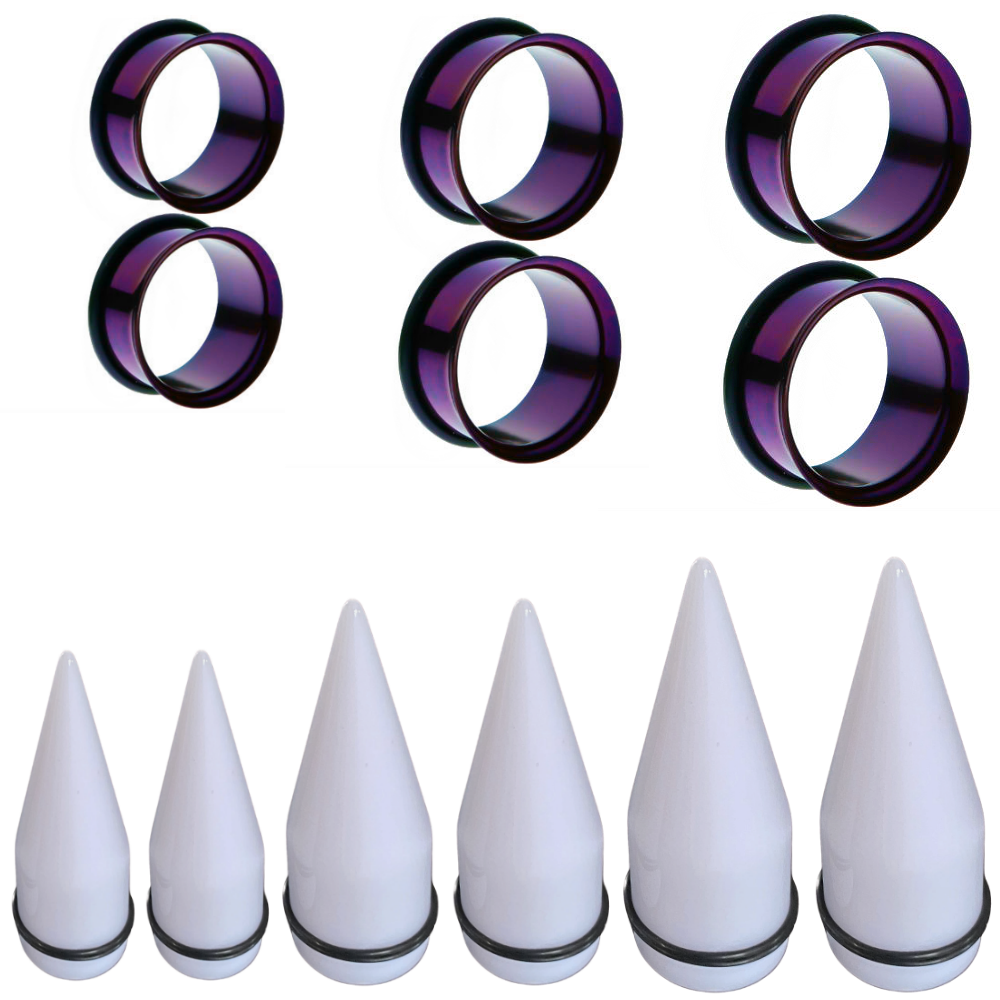
Now that your computer screen is displaying a penny at 19mm - 3/4 inch true to size, find a plug that fits your ears and match the plugs to a size on the screen.
* If you have double saddle or double flare plugs there will be about a 1 MM larger "flare " outside the plug. 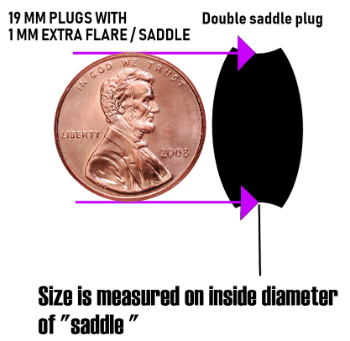
Just click on the pic below and checkout some of our kits :)

